
Table of Contents
How to Edit Product Photos in Photoshop (Step-by-Step Guide for eCommerce & Online Stores)
In modern eCommerce, product images are not just visuals — they are your first sales conversation with the customer. Before reading descriptions or checking prices, users decide whether they trust your product based on how it looks.
That is why learning how to edit product photos in Photoshop is essential for any online business.
This guide is designed as a complete professional workflow used in commercial editing studios like Clarity Edit, covering everything from RAW correction to background removal, color grading, retouching, sharpening, and export optimization.
By the end, you will not only know how to edit product photos — you will understand how to create high-conversion, marketplace-ready images that increase clicks and sales.
Why Product Photo Editing Matters for eCommerce Success
High-quality product images are one of the most important ranking and conversion factors in eCommerce.
In competitive online markets, customers don’t physically touch products — they judge based on visuals.
That means your product photos must:
- Build instant trust
- Show accurate details
- Match brand consistency
- Load fast and look professional
This guide explains how to edit product photos in Photoshop using a structured, repeatable workflow used by professional editors and agencies like Clarity Edit.
What You Need Before Editing Product Photos in Photoshop
Essential Tools
- Adobe Photoshop (latest version recommended)
- Camera Raw (built-in)
- High-resolution RAW or JPEG images
Ideal Image Standards
- Clean lighting (softbox or natural light)
- Neutral background
- Sharp focus (no motion blur)
- Consistent exposure across all product images

Step 1 — Open and Prepare Your Product Image
Use Camera Raw for Base Correction
Open image:
File → Open → Camera Raw
Adjust:
- White Balance (most important for product accuracy)
- Exposure (avoid overexposed whites)
- Highlights & Shadows (recover details)
- Texture (light enhancement only)
Goal: Create a neutral, realistic base image
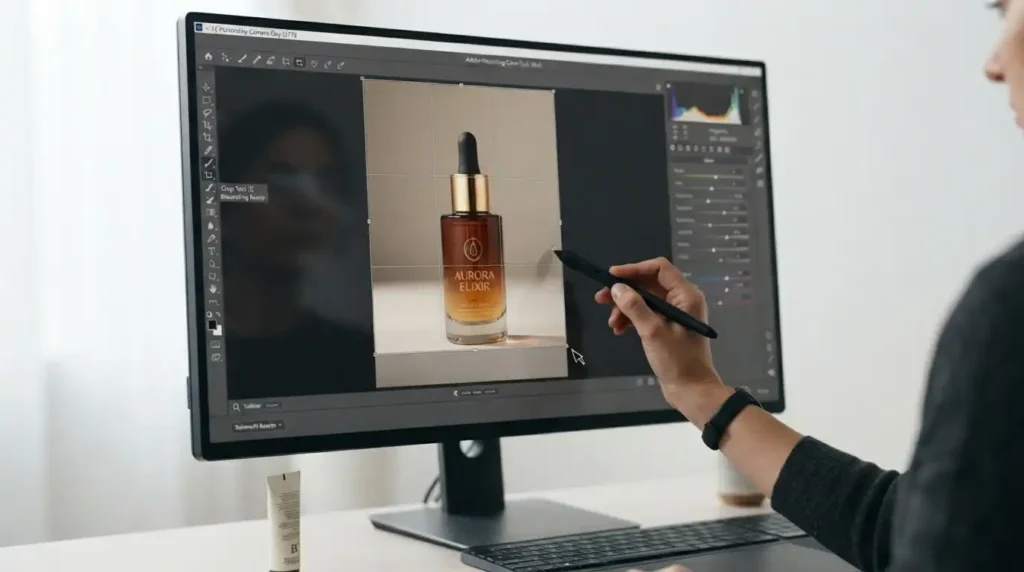
Step 2 — Crop and Align for Professional Composition
Maintain Consistent Framing
Use Crop Tool (C):
Recommended aspect ratios:
- 1:1 → Amazon, Shopify grids
- 4:5 → Instagram & social commerce
- 3:2 → banners and lifestyle layouts
Pro Tip
Always maintain consistent scale across all products — inconsistency reduces store trust.
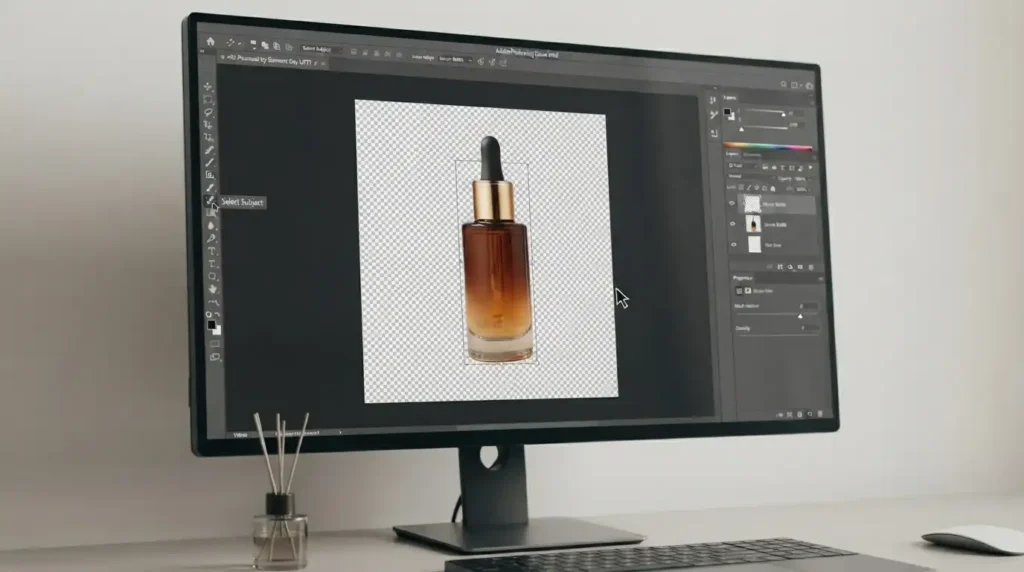
Step 3 — Remove Background Professionally
Clean White Background Workflow
- Select → Select Subject
- Go to → Select and Mask
- Refine edges (hair, fabric, soft edges)
- Output → Layer Mask
- Add pure white background (#FFFFFF)
Transparent Background (PNG Export)
For logos or pack shots:
- Keep Layer Mask
- Export as PNG
- Avoid harsh edge cuts
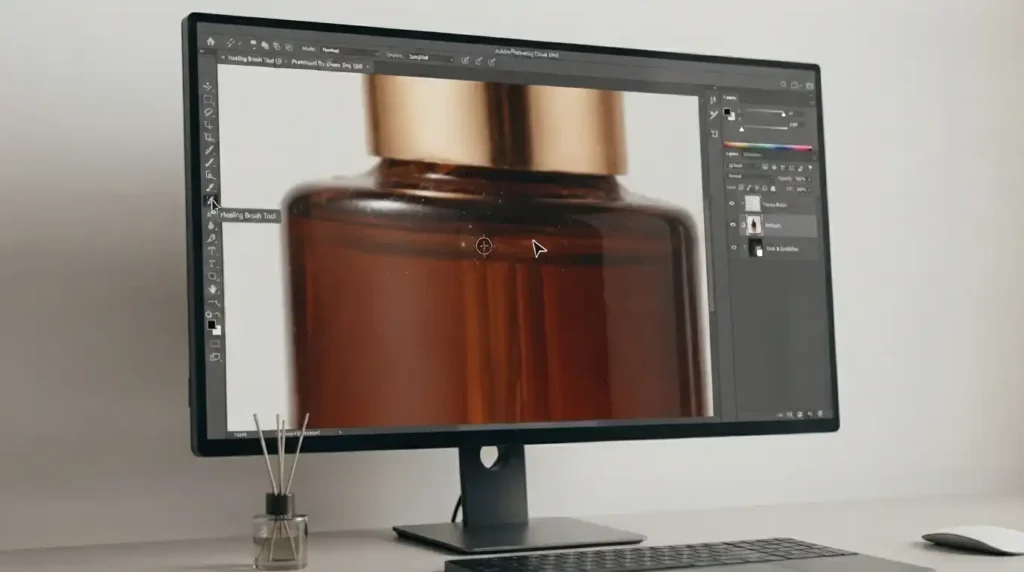
Step 4 — Clean Product Imperfections
Remove Dust, Scratches, and Noise
Use:
- Spot Healing Brush (small dust)
- Healing Brush (texture blending)
- Clone Stamp (structured correction)
Zoom at 100% for precision editing
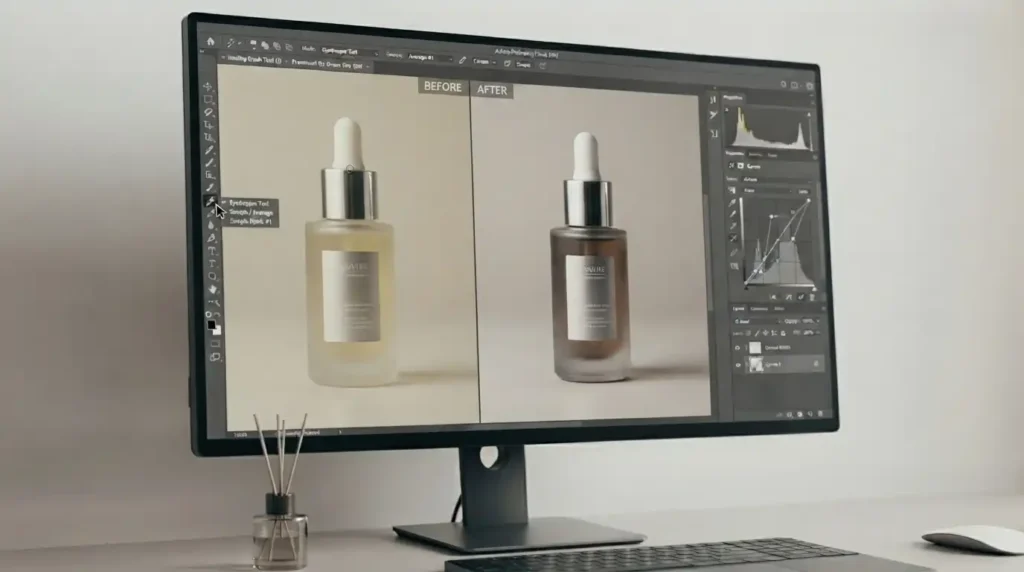
Step 5 — Correct Color and Ensure Product Accuracy
Adjustment Layers Workflow
Use non-destructive editing:
- Curves → Contrast control
- Levels → Black/white balance
- Hue/Saturation → subtle correction
- Selective Color → brand accuracy
Important Rule
Never over-enhance colors — inaccurate colors increase return rates and reduce trust.
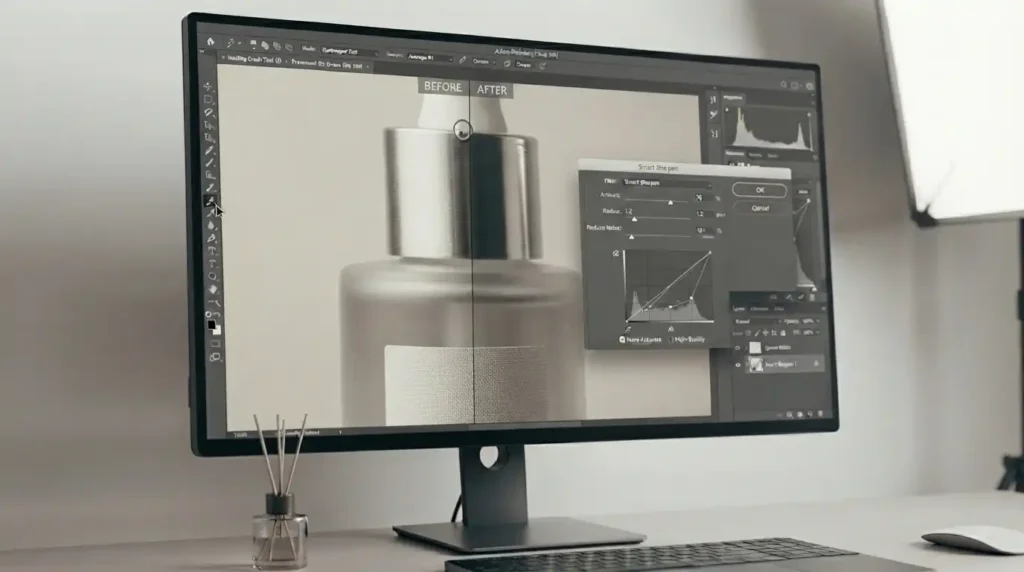
Step 6 — Enhance Details with Professional Sharpening
Smart Sharpen Method
- Convert to Smart Object
- Filter → Smart Sharpen
- Apply subtle sharpening only
Rule
- Never sharpen before resizing
- Avoid halo effects on edges
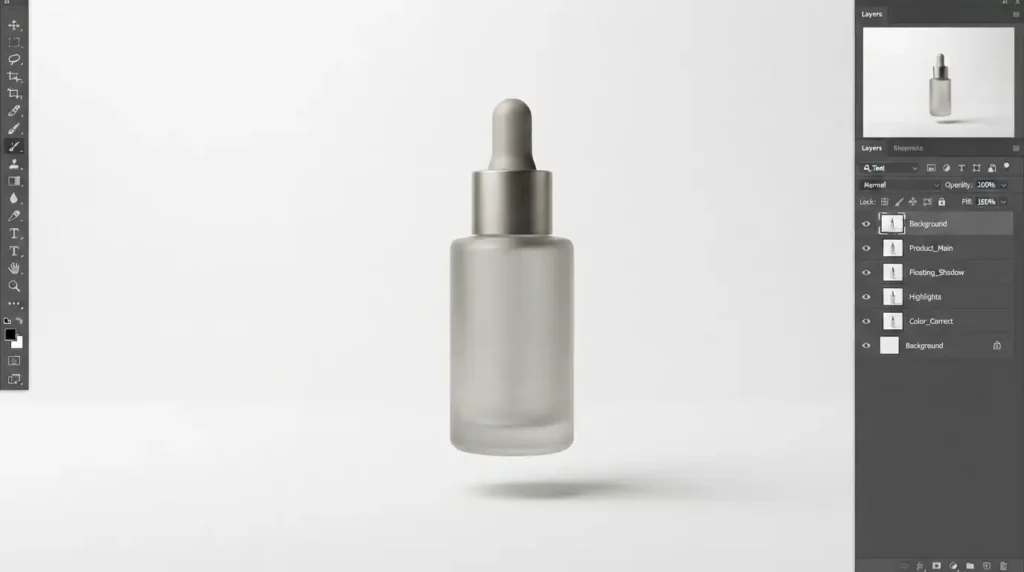
Step 7 — Add Natural Shadows for Depth
Soft Shadow Technique
- Duplicate product layer
- Fill with black
- Apply Gaussian Blur
- Reduce opacity
Keep shadows subtle — not dramatic
Step 8 — Batch Editing for eCommerce Efficiency
Scale Your Workflow
For multiple products:
- Use Photoshop Actions
- Use Camera Raw presets
- Use Batch Processing (File → Automate → Batch)
This is essential for growing brands and agencies like Clarity Edit.
Step 9 — Export Settings for Web and Marketplaces
Correct Export Format
- JPEG → product photos
- PNG → transparent images
Optimal Settings
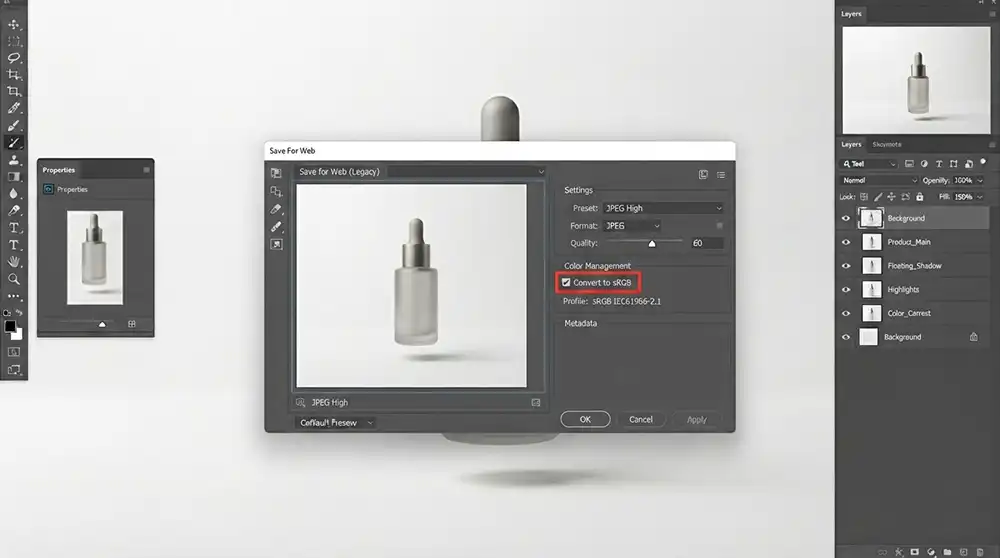
- Color Profile: sRGB IEC61966-2.1
- Quality: 70–85%
- Resolution: 1500–2500 px
File Naming Best Practice
Example:
brand-product-name-color-angle.jpg
Step 10 — Recommended Product Image Sizes
- Shopify / WooCommerce: 2000 × 2000 px
- Amazon: 2000 px minimum (zoom-ready)
- Social media: 1080 × 1350 px
Common Mistakes in Photoshop Product Editing
Avoid These Errors
- Overexposure (loss of detail)
- Over-saturation (fake look)
- Harsh shadows
- Inconsistent cropping
- Wrong color profile (non-sRGB)
- Over-sharpening
Why Professional Editing Improves Conversions
High-quality product editing:
- Increases click-through rate
- Builds brand trust
- Reduces return rate
- Improves perceived product value
- Enhances marketplace ranking signals
Final Checklist Before Publishing Product Images
- Clean white or transparent background
- Accurate colors
- Dust and defect removed
- Proper crop and alignment
- Subtle sharpening applied
- Web-optimized export (sRGB)
Conclusion — Build Trust Through Visual Quality
Learning how to edit product photos in Photoshop is not just a technical skill — it’s a business growth strategy.
Brands that invest in professional image editing consistently outperform competitors in:
- Conversion rate
- Brand perception
- Customer trust
- Marketplace ranking
For brands that want to scale faster without managing complex editing workflows, agencies like Clarity Edit provide professional, consistent, and conversion-focused product image editing services.
Frequently Asked Questions (FAQ) — Product Photo Editing in Photoshop
The best way to edit product photos in Photoshop for eCommerce is to follow a structured, non-destructive workflow that prioritizes accuracy, consistency, and visual clarity.
A professional process usually includes opening the image in Camera Raw for exposure and white balance correction, cropping for consistent framing, removing the background using Select Subject and Layer Masks, retouching imperfections with healing tools, adjusting color using Curves and Levels, sharpening details carefully, and finally exporting in the correct web format (usually sRGB JPEG or PNG).
The most important rule is to keep the product realistic. Over-editing can reduce trust and increase return rates, while clean and accurate editing improves conversions and brand perception. This is why professional editing services like Clarity Edit focus heavily on maintaining natural product appearance while improving visual quality.
To remove backgrounds from product photos in Photoshop, you should use a combination of selection tools and layer masking for clean, professional results.
The most common method is to use Select Subject, followed by Select and Mask, where you refine edges like fabric, hair, or curved objects. After refining, you apply the selection as a Layer Mask, which allows you to remove the background non-destructively.
For eCommerce white backgrounds, you then add a solid white layer beneath the product. For transparent backgrounds, you simply keep the mask and export the file as a PNG.
Professional editors avoid erasing backgrounds directly because masks preserve flexibility and allow future edits without damaging the original image.
The ideal size for product images depends on the platform, but most eCommerce stores follow a standard range between 1500px to 2500px on the longest edge.
Platforms like Shopify, Amazon, and WooCommerce recommend high-resolution images because customers often zoom in to inspect product details. A larger image improves clarity, while optimized compression ensures fast loading speed.
It is also important to maintain consistency across all product images. Mixed sizes or inconsistent aspect ratios can make a store look unprofessional and reduce customer trust. That is why agencies like Clarity Edit always standardize image dimensions across entire product catalogs.
Making product photos look professional requires a combination of technical accuracy and visual balance rather than heavy editing.
Start with proper exposure and white balance correction so the product color is accurate. Then remove imperfections such as dust, scratches, or reflections that distract from the product. After that, ensure the background is clean and consistent, usually pure white or transparent depending on the platform.
Subtle sharpening enhances details without creating artificial textures. Finally, proper cropping and alignment ensure visual consistency across all product listings.
A professional look is not about making the product “perfect,” but about making it clear, trustworthy, and visually consistent across all listings.
Color correction is one of the most critical steps in product photo editing because customers rely entirely on visuals when making purchase decisions.
If the product color appears inaccurate, customers may feel misled when they receive the item, which leads to returns, negative reviews, and loss of trust.
In Photoshop, tools like Curves, Levels, and Hue/Saturation are used to ensure the product reflects its real-world appearance under neutral lighting conditions. Proper color correction ensures consistency across different devices, screens, and marketplaces.
For brands, maintaining color accuracy is not just an aesthetic choice — it is a conversion and trust-building requirement.
Both JPEG and PNG serve different purposes in product photo editing.
JPEG is the best choice for standard product images because it offers a good balance between quality and file size. It is widely supported across all eCommerce platforms and loads quickly, which improves website performance.
PNG is best used when transparency is required, such as logos, cut-out images, or graphics without backgrounds. It preserves edge quality but usually results in larger file sizes.
In most cases, product catalogs use JPEG for main listings and PNG only for special use cases.
Shadows are important because they add depth, realism, and grounding to product images.
Without shadows, products can appear like they are “floating,” which reduces realism and can negatively affect customer perception. A soft natural shadow helps simulate real-world lighting conditions and gives the product a premium studio look.
However, shadows should always remain subtle. Overly strong or dark shadows can make images look unnatural and distract from the product itself.
Professional editing balances shadow strength carefully to enhance realism without overpowering the product.
Yes, Photoshop can significantly improve low-quality product images, but it has limitations.
It can fix issues such as poor lighting, uneven exposure, color imbalance, dust, scratches, and minor distortions. It can also enhance sharpness and remove background distractions.
However, Photoshop cannot fully fix extremely low-resolution or heavily blurred images. The best results always come from starting with high-quality original photography.
That is why professional editing workflows, such as those used by Clarity Edit, always begin with properly shot product images before applying post-production enhancements.
The most common mistakes in product photo editing include over-editing, inaccurate color correction, inconsistent cropping, and excessive sharpening.
Over-editing often makes products look unrealistic, which reduces customer trust. Inconsistent image sizes or angles can make a product catalog look unprofessional. Incorrect color correction can lead to customer dissatisfaction when the product looks different in real life.
Another common mistake is removing natural shadows completely, which makes the product look flat and unrealistic.
Avoiding these mistakes is essential for building a professional and conversion-focused eCommerce store.
You do not strictly need a professional service, but it becomes highly valuable when scaling an eCommerce business or managing large product catalogs.
Professional editing ensures consistency, speed, and quality control across all product images. It also saves time for business owners who would otherwise spend hours editing photos manually.
Services like Clarity Edit specialize in maintaining visual consistency, brand alignment, and marketplace compliance, which directly improves conversion rates and customer trust.